|
96 disco-Series I to 300tdi 2부
페이지 정보작성자 육혁 작성일05-01-04 04:26 조회2,927회 댓글0건 |
본문
PHASE 3: Stage II Suspension, wheels and tires
A coil sprung Rover, be it a Defender 90 or a Disco has about twelve choices for suspensions. Some people like a nearly stock set up with lift blocks or spacers and longer shocks for a good low cost build up. Some people like spherical bushings and all out high tech in search of the highest RTI score at all costs. In the Discotech we decided to split the difference. We"ll be installing a modified Safari Gard Stage II. We like the high end shock technology of the Fox Shocks and the added lift achieved without large lift blocks. We also like the Old Man Emu springs as they are relatively cheap and we can swap rates easily without having to worry about getting custom made units. The Discotech has a Tdi engine that is much heavier than the V8 unit, so through OME (Old Man Emu) we can source the correct springs for a diesel Disco and mate them to the correct Fox shock length for max. articulation right out of the box. As we said, this is the best suspension system for our uses and our tastes. Suspension choices are subjective. Everyone has an opinion and no one is really correct, as it is all a matter of personal tastes.
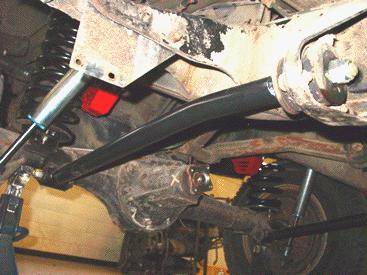
Our Stage II install started by gutting the old bump stops, spring, shocks, trailing arms and radius arms.

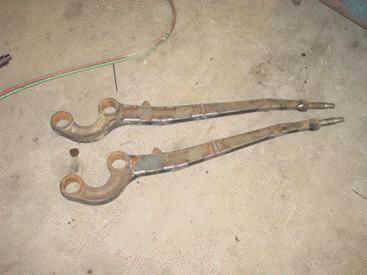
사진2 In this image you can see the modified trailing arms. These are changed in length to suit the lift kit and the angle of the arm where it reaches the bushing is corrected to reduce preload on the bushing that would cause limited axle droop and premat

사진7 Once the front suspension is removed we can get started on the new set up. The radius arms need to be corrected for proper on road handling due to our suspension lift. We have a jig for building corrected radius arms for all types of lifts so it is

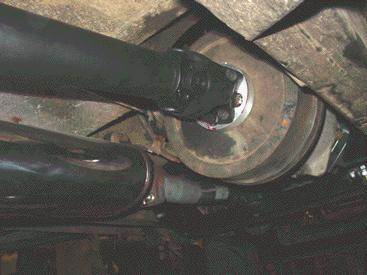
사진10 The Disotech has a little more than a 2" suspension lift, so that means we also have to correct the drive angles to make it smooth and vibration free on those long road trips across country. This is done by installing CV joint driveshafts front and

사진13 Test Tires:
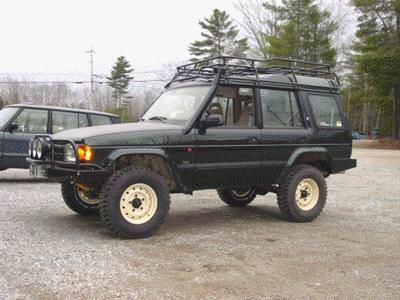
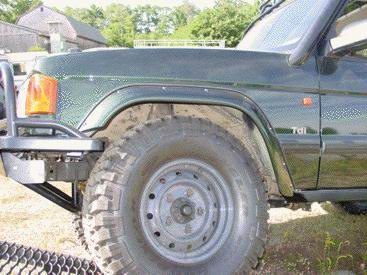
In an effort to see just where we should go with the tires on the Dicotech we installed some NATO rims and BFG Mud Terrains from another Rover project, just to see what they looked like. The NATO rims in classic Rover Limestone look a

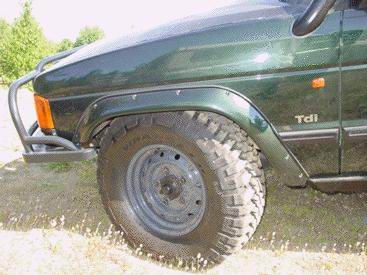
사진14 This image shows the flares covering the 265s, we definitely need a wider tire, or we could keep this size and run a wheel spacer for a great turning radius with no rubbing on the radius arms, but we like a wider tire, so it is time to move on...

사진18 Speaking of 2" lift, we finally found time to set up the front suspension correctly so that the weight of the diesel does not make the Discotech look "nose down". In this image you can see that with the final set up on the suspension the Discotech

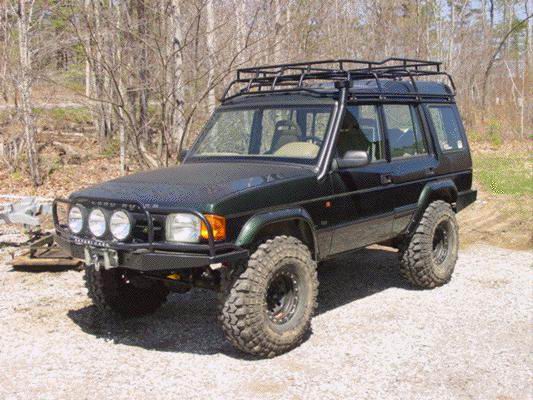
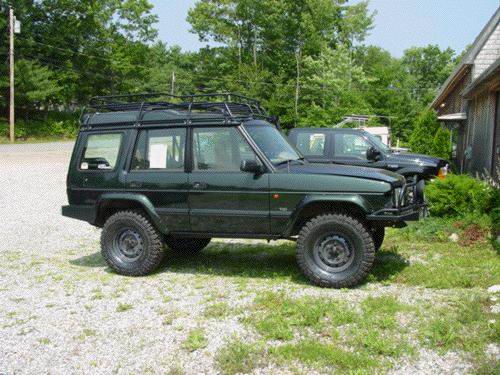
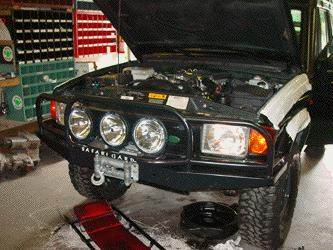
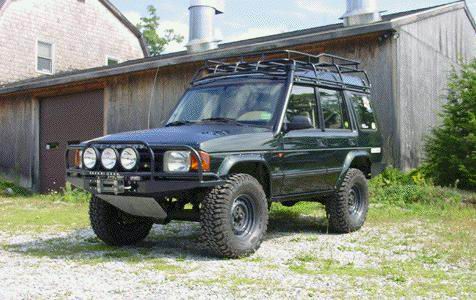
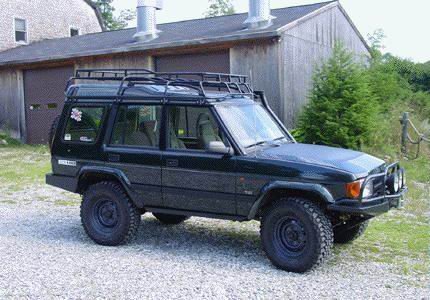
사진20 This images shows the Discotech nearly ready for delivery. We consider it a very well balanced package. It might be too extreme for some, but it can be used as a daily driver, and it can tackle all but the most extreme trails with ease.

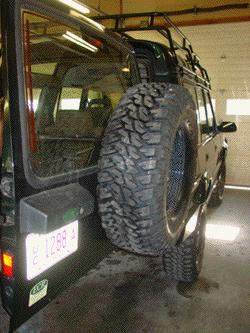
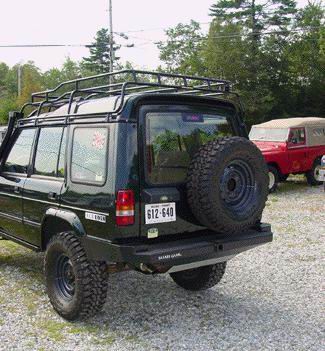
사진22 This image shows the completed set up with the MTR mounted on the door and ready for action.

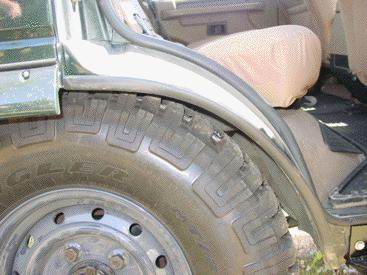
사진24 Under compression on the front axle all the geometry is all correct and both shock length and bump stops are doing their jobs the right way. The wheel flares open up things enough that the nearly 33" tire clears with ease. If we kept the same suspe

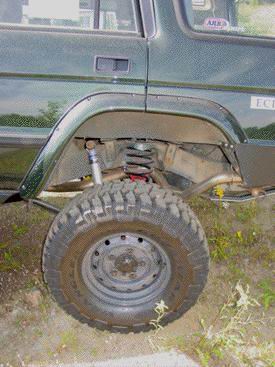
사진25 Rear axle extension is good, here again a few more tricks would free up a few more inches of travel, but we wanted to keep the springs connected (no drop-outs) and retain the factory shock mounts to keep things easy to service in the long haul, so

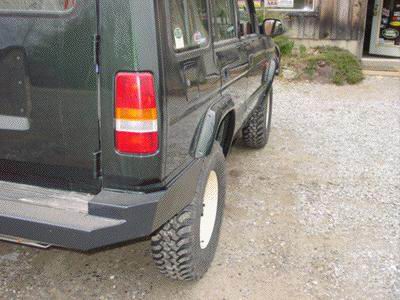
사진27 With the rear door open you can really see what the flares will gain you, there is quite a bit of room left in that wheelwell for larger tires.

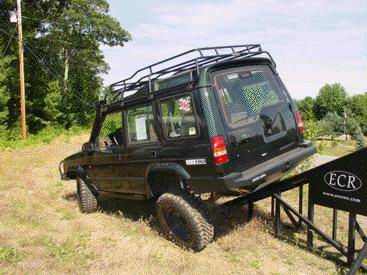
사진30 Hitting the RTI ramp backwards give the same results... no rubbing issue of any kind and a very nice suspension set up that has nice flex, without loosing the highway ability that the Discotech was designed to retain.

사진31 The front axle compression still yield no rubbing, even when you cut the wheel, the tires do not rub on the inner fender or on the flare itself.

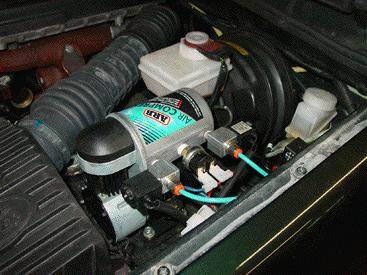
사진35 The removal of our ABS pump made for a tidy spot to install the ARB air compressor and associated solenoids. The unit is tucked nicely under the hood, easy to service and mounted on rubber isolators so that it operates quietly.

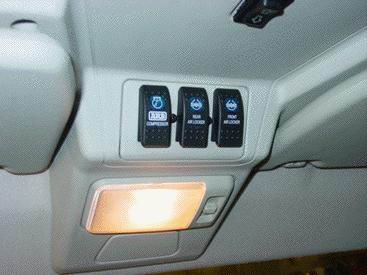
사진36 Interior controls for the ARB lockers fit nicely in this little overhead space on the Disco. This makes for ease of use and utilizes a space that was blank in our Disco.
The addition of the ARB lockers will transform the Discotech from "average" o

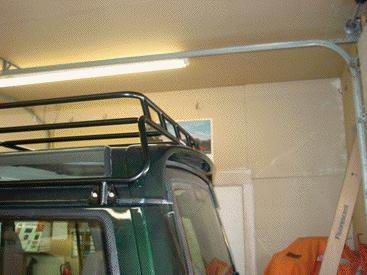
사진38 Another nice feature is that the rack works with the factory grab bars and both the factory sunroofs. It also works with the factory rear spoiler we installed.

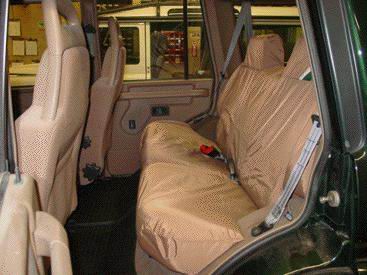
사진39 Inside the Discotech we are adding some simple upgrades as well. In the image above you can see the new rear seat cover in place, as well the heavy duty Genuine floor mats that we installed front and rear.
This keeps our back seat free from mud an

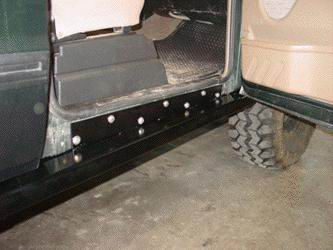
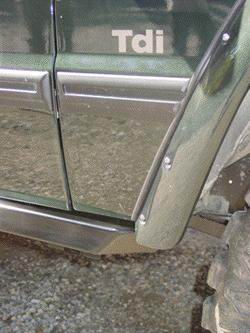
사진41 The basic design is like other units on the market, they stick out past the body to allow rocks to pass by the doors without damage, and this also gives you a nice step for getting in and out, or strapping items to the roof rack as well. The units

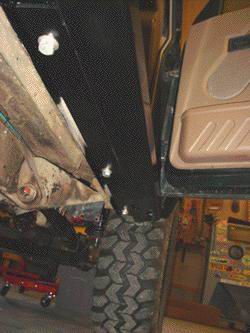
사진42 We modify the lower sills with heavy duty plate and weld in anchors to the Disco that allow us to mount not only in the door frame area (as seen above), but directly under the sill so that all the force of hitting a rock is taken up along the entir

사진43 We also add Hi-Lift jack points (as seen above) in the correct locations on all the ECR ROX sliders. These points allow you to jack up the side of the vehicle with a H-Lift jack without the fear of it slipping out to the side This way if you need t

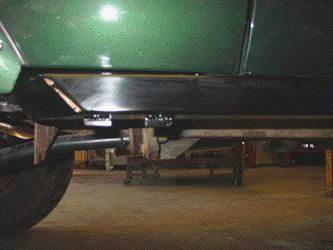
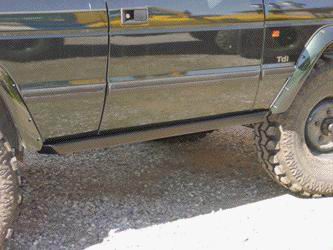
사진44 The ends of the sliders were changed from the standard ECR ROX sliders to allow for the wheel flares. We made this as stylish as possible to keep in line with the angular flares and keep the project looking good, as well as being tough as nails

사진45 This image shows the finished sliders, painted in satin black to match the front and rear bumpers, and installed on the Discotech, ready for action, with a lifetime guarantee.

사진47

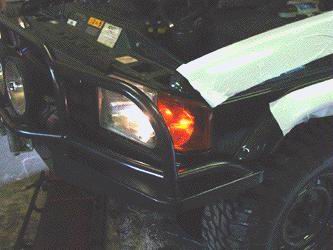
사진48 an amber side marker light, AND the brighter turn signal when you need it.

사진49

사진50

사진51 끝.fini! finished!

